Star Trails
These are a great challenge, and the best part is, you don’t know exactly what the photograph will look like until after you’ve taken it. In order to take star trail shots you need three essential things: A DSLR with a BULB mode, a tripod, and a rubber band and eraser. There are other methods to taking star trails too which require more tools, but if you have those three things than you can get away with taking a fine photo.
Star trails are really fun. Find a good foreground and then make sure the sky is clear with minimal light pollution. It is going to be harder to do fantastic star trail shots if you live in the city because the light from the city bounces off the atmosphere and causes the entire sky to glow. Ideally, we only want the stars to glow. Moonless nights are best. Also, it is best if there are no clouds around when doing this.
You will need a tripod and a device that can take exposures one after the other. You can take one huge long exposure, but the noise in the image adds up with long exposure times, especially if it is a hot summer night. In order to get around this noise issue, we can take a bunch of 30 second exposures one after the other and then combine them into one image on the computer. Either method is up to you.
There are different tools we can use when taking star trails:
1) Use an Intervalometer (ultimately this is the best way, especially if your camera has one already built in). There are some phone/tablet apps that make use of the headphone/usb port to transform the phone you already have into an intervalometer.
2) Use a remote
3) Use a cable release (best way if you are using film)
4) Use a rubber band and eraser (cheapest, quickest way)
5) Use Camera controlling software on your laptop. (This won’t be discussed in this article)
Lets look at each method below to see which one is right for you.
Using an Interval Timer Shooting mode (or an Intervalometer)
 If you are using a higher-end DSLR, your camera should have an interval timer shooting mode (or sometimes called Intervalometer) already in the camera. The intervalometer will allow you to take 30 second exposures one after the other, automatically. We can then take all these exposures and combine them together on the computer. Check your cameras manual or go inside the camera menu to see if it has an interval timer shooting mode. If it does, set everything on manual (manual focus, manual white balance) Take 30 second exposures with the minimal amount of interval time in between each exposure. Some cameras take longer to write the image to the card and it takes longer than one second, so you may have to set the interval times for 2 seconds. Go by trial and error until you get it right. Once you find it, you can start taking the actual shots. I’d take anywhere from 50-300 frames.
Using a Remote to take Star Trails
 Using a remote is better for lower end DSLRs that don’t have an interval timer shooting mode. You’ll need to set your camera to manual mode, and then scroll your exposure time to the longest time possible, this is called the BULB mode. Push the button on your remote and and your shutter should lock up and start taking the photograph. Not all remotes and cameras are created equal, so you might want to check with a local camera dealer to see if this will work with your camera. It works with the Nikon d50 for sure, and probably the D70.
Using a Cable Release
Cable releases lock your shutter when in BULB mode so you can record the exposure for as long as you want in one continuous exposure. If you are using a Nikon film camera, then this is the best option for you. I’d recommend the ACR Cable. Digital also works totally fine with this method and is actually what I usually use myself. When using a DSLR, I simply set the shutter speed to 30 seconds, plug the cable release into the port, push the button in and lock it in, and it will take a bunch of 30 second exposures one after the other with the shortest amount of transition time possible.
Using a Rubber Band
This method is best when you just want to practice and get the hang of things without paying for a bunch of stuff extra stuff. Get an eraser and place it on your shutter button, then just wrap it up using a rubber band. I learned this trick from QQQQcon on YouTube, a great wildlife and landscape photographer.
Because all cameras are different, you still might not know what method is best for you. If that is the case, use the rubber band method or ask forums or your local camera dealer on what you should get for your camera. A good resource online would be to search Flickr Groups for your camera model, join the group, look around to see if your question already has been answered, and if it hasn’t, ask. Expect to get an answer within the first 10-120 minutes.
Camera Settings for Star Trails Photos
Now that we have all the options out of the way, let’s just simply look at what settings we need to do when we are actually outside with our camera and tripod. Depending on the weather, your lens could possibly fog up completely. In order to prevent this, wrap some hand warmers around your lens with a rubber band, or get a miniature fan to constantly blow wind onto your lens. These things might not be necessary, it all depends on how cold and humid it is.
Focusing:
Set your camera to manual focus and focus out into infinity. Your camera won’t be able to use Autofocus in these dark conditions. Take a test shot to make sure your stars are sharp.
Exposure Time and ISO:
Now let’s calculate the exposure. If you are using one big long exposure and you’re not combining a bunch of 30 second exposures, take one 30 second exposure at ISO 1600. If it looks well exposed, just take that 30 seconds and multiply it by 16. If you are using ISO 3200, multiply the shutter speed you used by 32 instead. The number you get after multiplying the shutter speed you used for the test shot by the ISO you used for the test shot will tell you the shutter speed (in seconds) you will need to use when shooting at ISO 100, which is probably what you want to use when taking the actual shot. Using ISO 200 should be fine when using that same exposure time too, it will be a little brighter.
If you are taking a bunch of 30 second exposures and then combining them on the computer, you don’t need to do this because all of your frames are going to be 30 seconds.
Aperture:
What should the aperture be when shooting star trails?
It doesn’t matter. I usually use F3.5 on my 18-55mm lens.
White Balance:
Using anything other than AUTO WB will ensure a constant WB in each frame. You’ll need to do this if you are combining frames. If you are doing one huge long exposure, then it is okay to use Auto WB. Using a Tungsten White Balance will make the sky a beautiful purple color!
Combining Multiple Star Trail Exposures Together
If you ended up taking a bunch of exposures, download the Startrails.de program and run it, it is pretty self explanatory, so I won’t go into detail here. When you load your photos into that, the Startrails.de program will combine all of them nicely.
If you want to do this in Photoshop instead, there is a special Photoshop Action available.
You can also do this in Photoshop by going to File -> Script -> Load Files Into Stack and then click OK. Wait for all the images to load, and then select all the layers and change the blending mode to Lighten. Try experimenting with different blending modes. Keep in mind that doing this in Photoshop might not come out as well if there is a ton of light pollution in the atmosphere. You might need to adjust the curves and make all the images darker in order for it to work.
Secret Star Trail Tricks
Fading Star Trails
Over a long time, you can rotate your focus ring out of focus so that each star gradually gets more and more out of focus. This will create a cone like shape to every star.
Dotted Star Trails
If you are taking a single long exposure, put a dark object — such as a hat or piece of cardboard — in front of the lens to block the light from coming in. Do this every minute or so. Say about 5 seconds to exposure the light like normal, and then 25 seconds with the object hanging over the lens to block all the light out. Keep repeating this and you should get dotted star trails.
If you are using an interval meter, then obviously you would just set the exposure time to 5 seconds and the interval to 25 seconds. Try experimenting with different variations. You could even make each star a different color in Photoshop in post-processing.
Star Trails with Illuminated Foregrounds
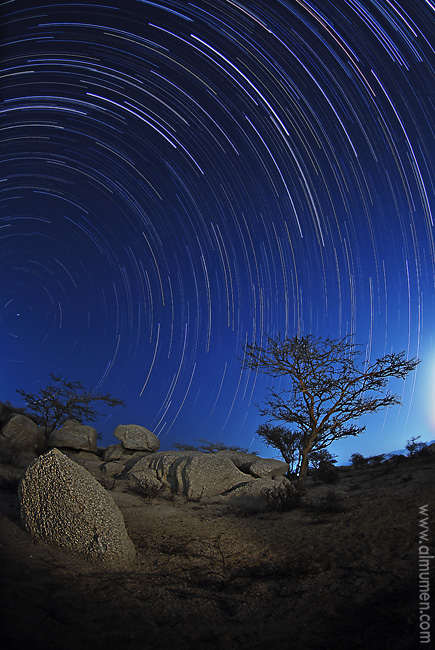
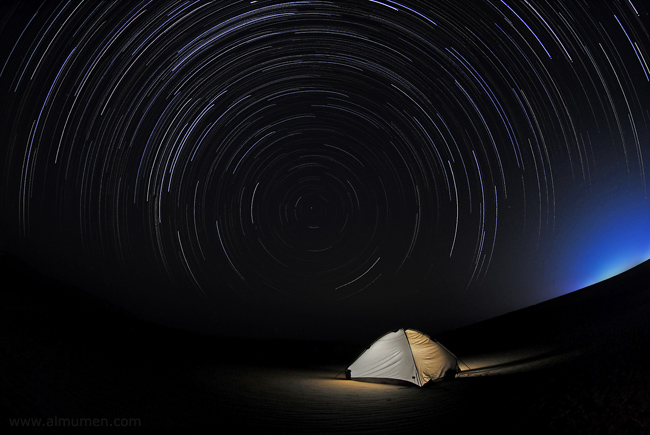
You can also use a flashlight, portable speedlights, car lights, or a fire to illuminate a foreground object. You can even illuminate entire landscapes at a distance if you have a powerful enough flashlight – the LED Lenser X21 monster flashlight is my light of choice for doing this. The first example below was illuminated by city lights just to the side of the hill, and the second example was probably illuminated by a flashlight.
Star Trails with the North Star in the Center of the Frame
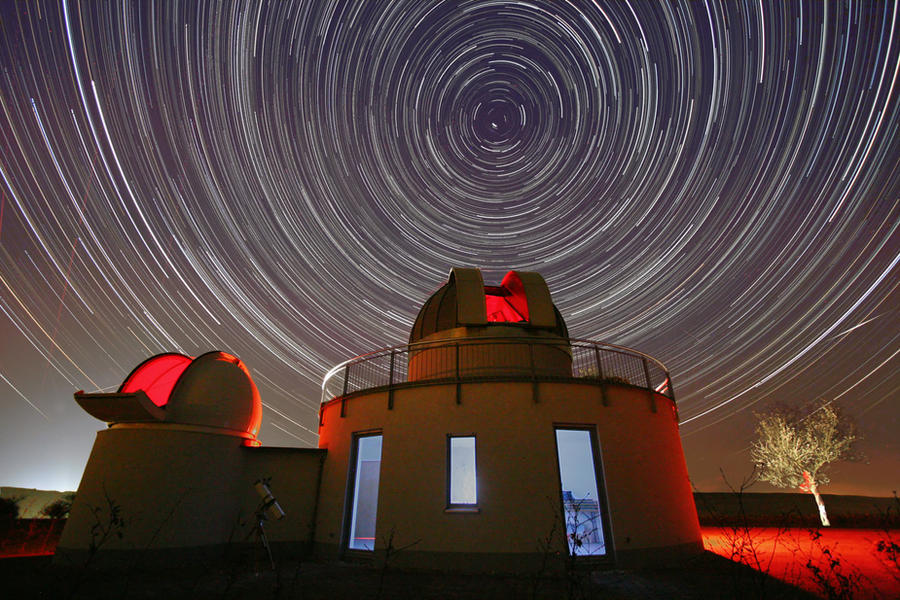
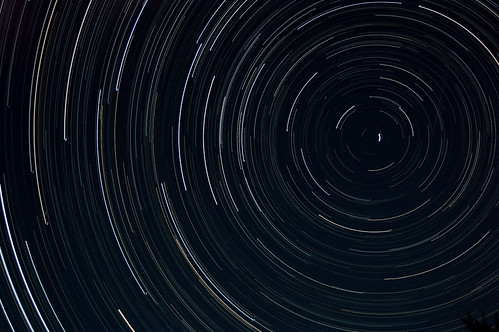
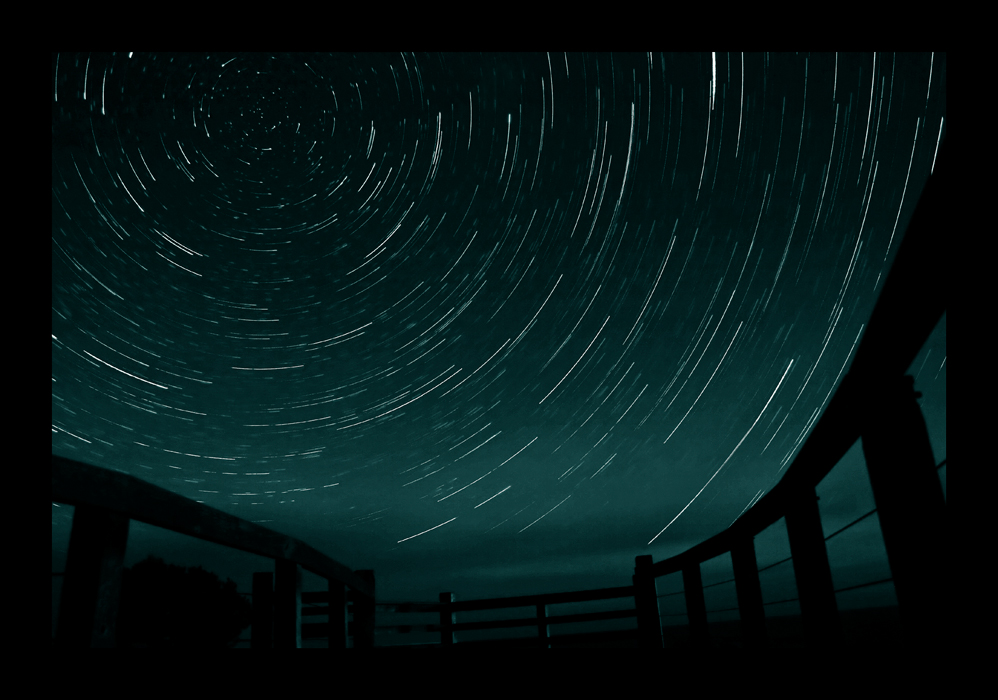
In order to get the donut hole effect, simply locate the North Star, or just point your camera North. Remember that stars rotate slower near the North Star, so you will need to have your camera out a long time to get a good shot. You can place your foreground objects right in front of the North Star. This will have the stars circulate around your chosen object, which is great for composition.
Parabola Star Trails
It is the complete opposite if you point your camera away from the North Star. The stars will go by very fast, so you will get longer strokes in a shorter amount of time. This was 130 30 second exposures combined using Startrails.de.
If you have any other tricks, send me a comment and an example so I can feature it in this article! Happy shooting!
In order to prevent your lens from fogging up, you can try wrapping up some hand warmers around your lens with a rubber band, or get a miniature fan to constantly blow wind onto your lens.
This is tutorial blog post is just an excerpt from my Trick Photography and Special Effects E-Book. If you enjoyed this post, consider getting the e-book. All the content you see here has been revised, plus new content has been added.





Pingback: Star Trail Photography Tutorial | McGee Photography
Pingback: TIPS | Seeing Stars?
Pingback: TIPS | Seeing Stars? - Louise Denton Photography