Equipment
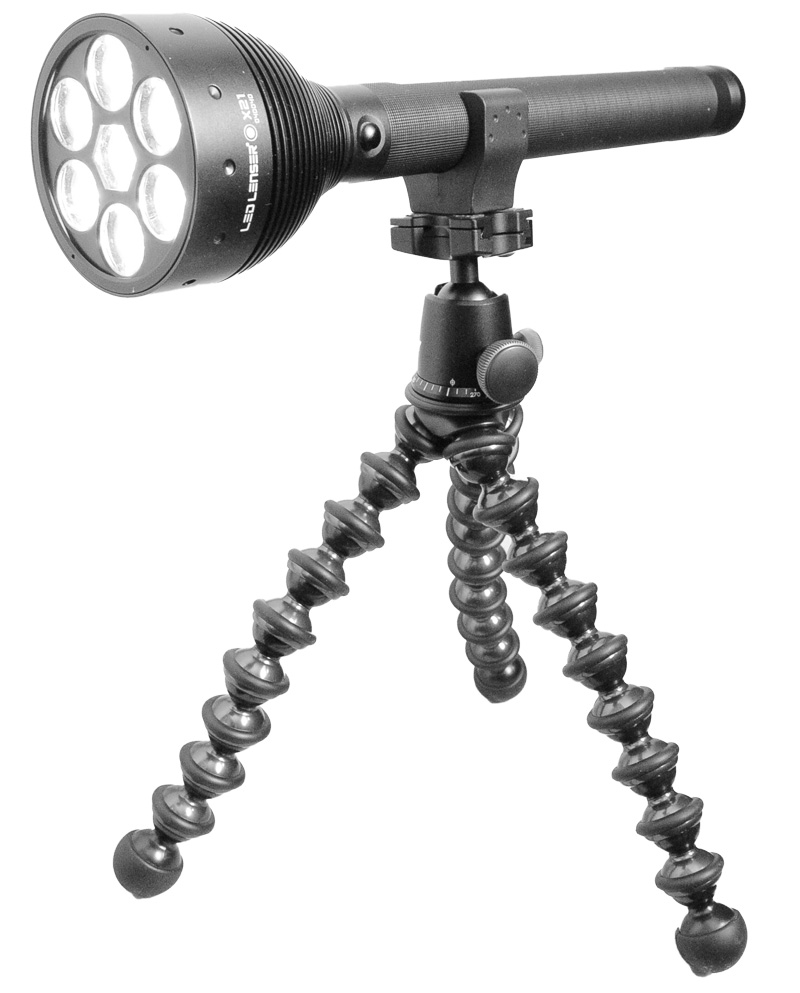
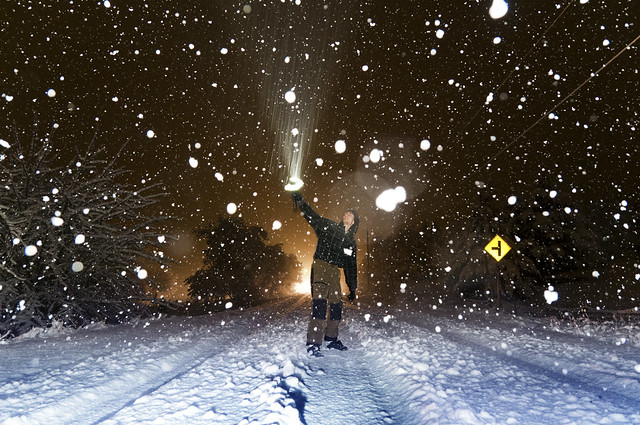
- LED Lenser X21 Flashlight – This thing is a beast. Extremely reliable and bright. I use it all the time for all sorts of reasons. Definitely worth the investment. The X21 is a continuous lighting solution, not a short burst of light like flashes are. Continuous lighting lengthens motion, flashes freeze motion. Updated versions of the flashlight are available here.
- Nikon D300s DSLR – Pay no attention to this, as any DSLR can produce the results you see in the video.
- Sigma 17-50mm f2.8 Lens – Generally the best lens to have for a Nikon crop-frame DSLR and I’ve created many many images with it.
- Manfrotto 055 Tripod – Mounting your camera to a tripod is absolutely essential in order to eliminate camera-shake.
- Optional: You can mount the X21 to a tripod by using an X21 tripod mount. When I was outside, I didn’t want to lug around two big tripods for both my flashlight and camera, so I conveniently mounted the X21 to a Gorillapod.
Results
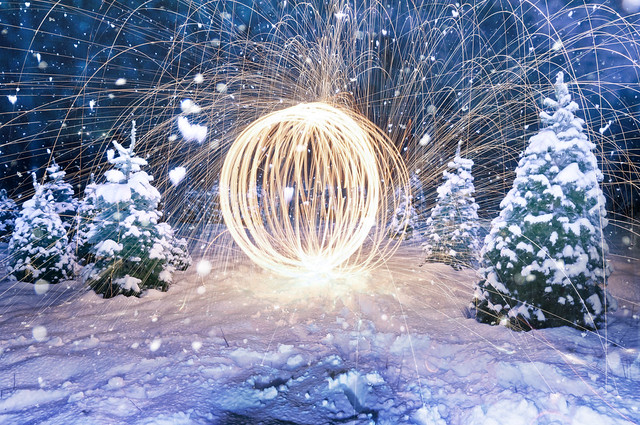
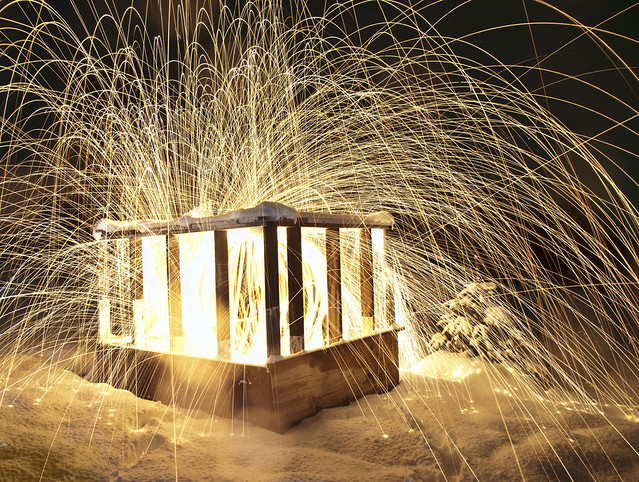
If you are wondering how the photographs of those flying sparks were created, take a look at my Steel Wool Photography Tutorial and I’ll show you how to do it!
Camera Settings
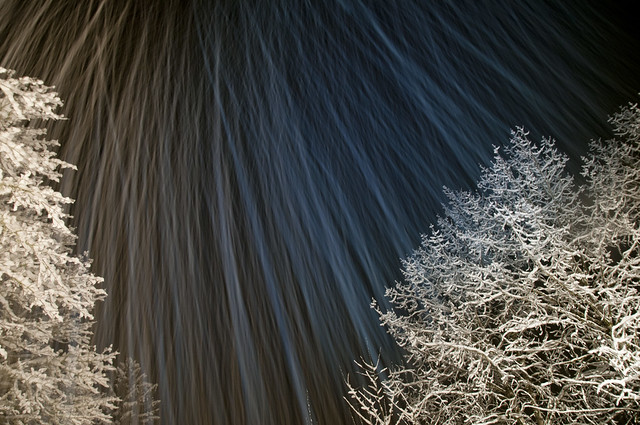
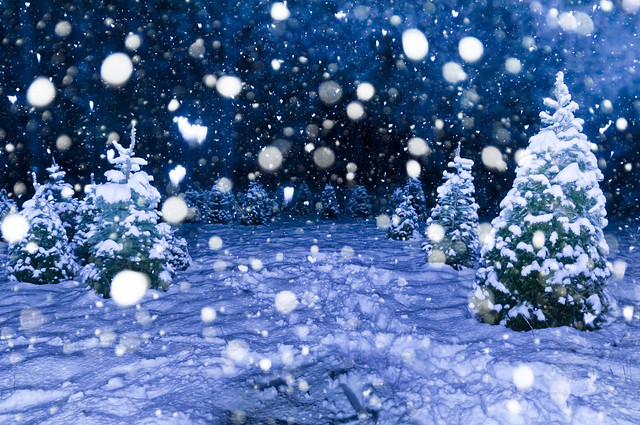
As far as what camera settings were used, I mostly used Manual Mode set to a shutter speed of 5″ with an aperture of f2.8 at ISO800 but these settings can change to get different results.
Depending on what you are setting the focus point on and how much light is available, you may need a focusing aid if the area inside the focus point is not bright enough. To do this, I like to set the camera to AUTO focus, shine the flashlight on the auto-focus point seen when looking through the viewfinder, take a picture to make sure the image is sharp and not out-of-focus, then turn off auto-focus to freely take pictures after that point.
Another Idea
Another idea I got only after it was done snowing would be to take a ~1 second exposure of the on-camera flash in burst mode, where it flashes rapidly multiple times. I’d love to try it at different speeds and show the results. I’m definitely thinking the faster speeds would look best. If you have a camera that has a burst flash mode feature – give it a shot!
Have fun!
Check This Out Next
 Are you tired of taking boring photos of the same mundane subject matter? Wouldn’t you rather take your photography to the next level and photograph things that catch people’s attention? If you would like to get the complete scoop and learn how to take more creative and unique shots with your DSLR, pick up my Trick Photography and Special Effects e-book and video course today!
Pingback: Lightning Thread for Everyone - Page 5
Pingback: click and snap! « viviennehew
Pingback: Best Dslr For Bird Photography 2012 | Fast Photos For You And Me
Pingback: Snow Photography and Special Effects (DSLR Tutorial) | Stay Focus Photography