Light Painting
Drawing with light is extremely easy and fun. Simply wait until night time, put your camera on a tripod, and set your exposure for long periods of time (these are usually 5 seconds-5minutes), your aperture, and ISO. I usually use f4 at iso 200 or 400, but these settings need to be determined differently according to each situation. Then, DRAW! There are many different light toys that create different effects. Things that have been used before include sparklers, glow sticks, flashlights, maglights, fire/torches, RGB strips, Christmas lights, illuminated cell phones, iPods, laser pens, and of course, any kind of LED.
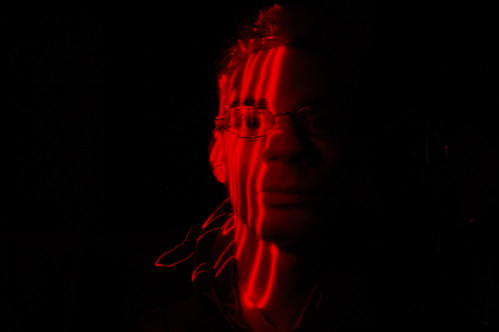
Scribble with laser pen. In this example the laser pen was stroked up and down the models face. 1 sec. / f 3.5 / ISO 200
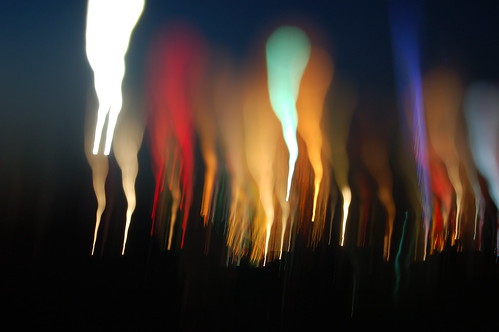
City lights from a far away distance. The camera slightly moved while the focus ring moved along with it so the light gradually becomes out of focus. 1.3 sec. / f 6.3 / iso20
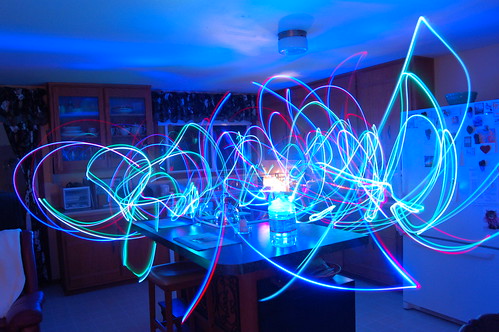
30 second exposure of tiny LED finger ring lights. I was holding them the entire time, but because I was not illuminated, you can’t see me in this picture.
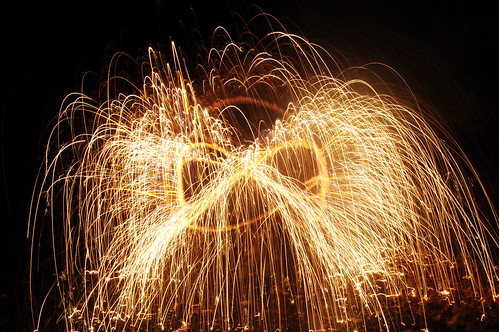
7 second exposure / f22 / ISO 200. This is just a standard long exposure of a sparkler in motion. Also keep in mind that if you use a flash, the person holding the sparkler will show up in the photograph. Regular sparks from fires can also make amazing shots, especially if you go in and out of focus during the exposure.

Keep in mind that you can trace objects with sparklers (or LEDs or any kind of lightsource). This was a car traced with a sparkler. 7 minutes long, ISO 100, F/18,
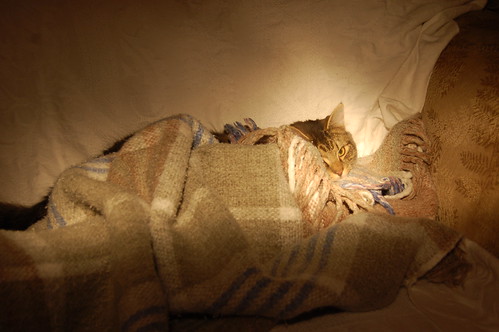
You can also use any kind of flashlights (or strobes/flashes) to illuminate your scene. Simply turn on your flashlight and start drawing/painting/spraying light onto the scene to illuminate it in the dark. If you have an extremely powerful flashlight, it is very well possible to illuminate entire landscapes in the dark as well!
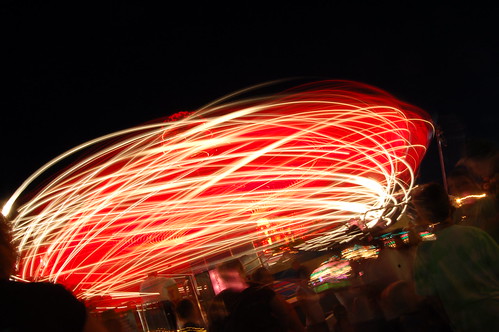
If you have a tripod on you, and you’re in an amusement park or some type of fair grounds, long exposures of rides look pretty sweet. Ferris wheels also work very well.
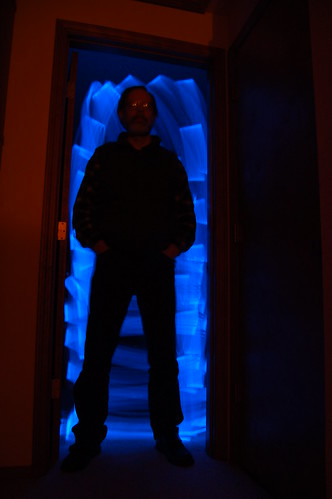
You can also make silhouettes of people by taking a long exposure while you move some sort of light behind them. Blue glow sticks were used in this example.
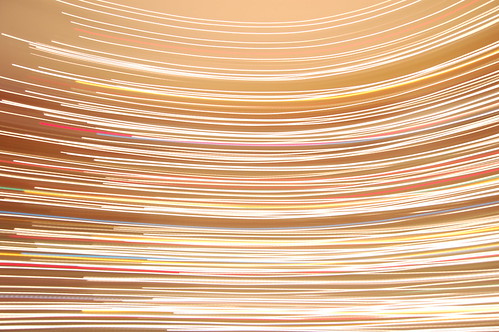
This was a long exposure of Christmas tree lights. It was a one second exposure. The reason why the lines look so straight is because the camera was jerked in a fast motion.

These are called physiograms. Simply attach Maglight to a string and let it hang from the ceiling, turn off all the lights, take a long exposure, and give the LED a little tap. When the long exposure is complete, this is what it will look like.
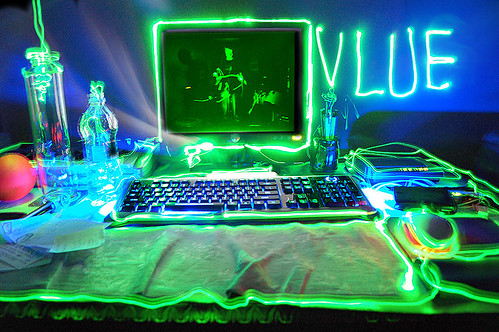
Again, LEDs are just great. You can trace objects with them, just like you can with sparklers. I used the finger LEDs in this example
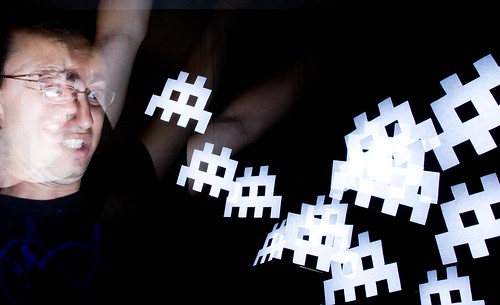
You can also make flash stencils! Just put cardboard in front of your flash with a design cut out in it, and you’re ready to go.
If you are interested in incorporating long exposure effects and light painting into your night photography, I would highly recommend “Night Photography & Light Painting” by Brent Pearson, especially if you are light painting landscapes.
.
.
.
Long Exposures During Day
You can also create long exposures of landscapes during they DAY by using an extremely dark filter that attaches to the front of your lens. The filter you can use is a B+W filter, an ND400 filter (I’d recommend this one), or even an Infrared filter. Taking long exposures during the day is useful for creating foggy/ghostly seascapes, blurring clouds, blurring water and waterfalls, and even removing people from a scene (if they are constantly moving).
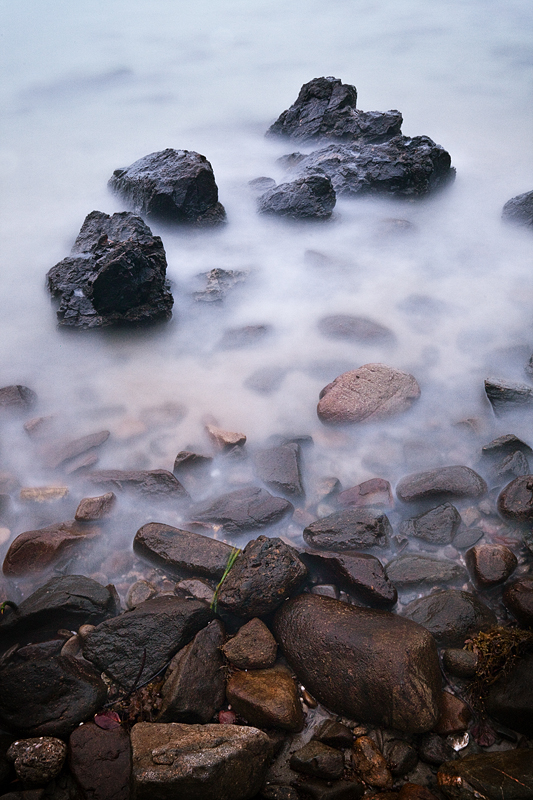
Long exposures are excellent for moving ocean waters splashing against rocks. The longer exposure = the more misty the water will looks A lot of people use an ND400 Filter for long exposures during the day. It allows 30 second+ exposure times.
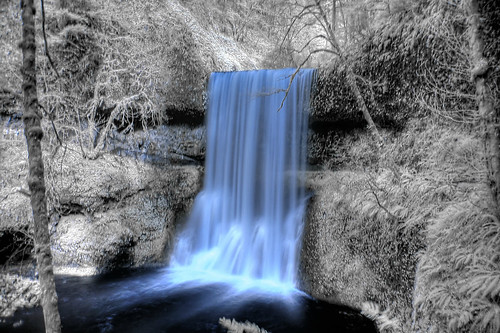
Long exposures of waterfalls create that smooth/soothing effect. Silver Falls, Oregon. This looks blue and white because it was taken with an Infrared Filter attached to my camera lens.
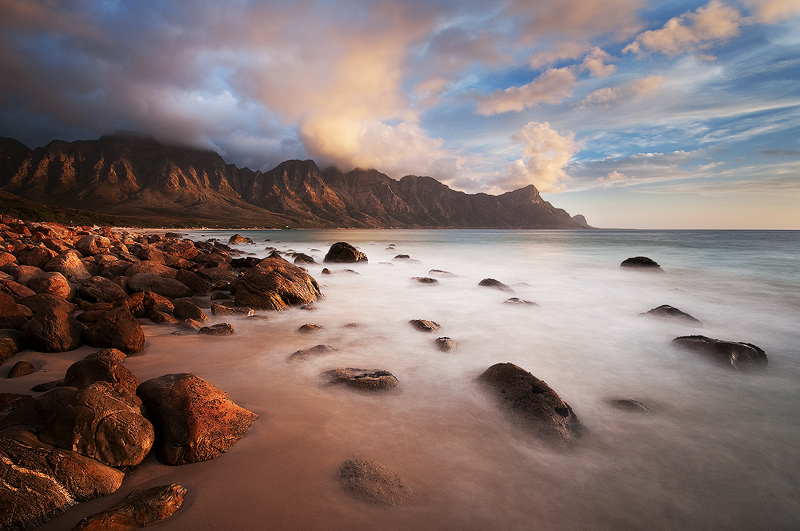
Manual blend of 2 exposures. 20 seconds for the water and 5 seconds for the sky. The long exposure is made possible by the use of a ND400 filter.
.
.
Star Trails
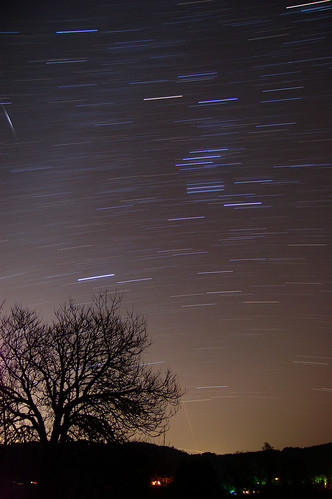
These are a great challenge, and the best part is, you don’t know what the photograph will look like until after you’ve taken it. You will need to have your camera on a tripod, manually focus to infinite, use the widest aperture you can and a low ISO. If you want to take 20+ minute long exposure, you will need to buy a cable release made for your specific DSLR. However, taking super long exposures can cause a lot of noise in images. An alternative wave to doing star trails is to take a bunch of 30 second exposures and then overlap all the images on your computer using a program called Startrails. There is a minor drawback to this method: for every 30 seconds of an exposed photo, there is a 1-2 second time period where the camera isn’t taking an exposure. This makes it so there are little tiny spots not visible in your star trail. It is a very minor drawback, but ultimately it is a better method because there isn’t as much noise.
.
.
.
Other Fun Long Exposures

A creative use for the ND filter would be to take a picture of a watch or clock. In this 4 minute long exposure you can see each second hand as it moves around the clock.
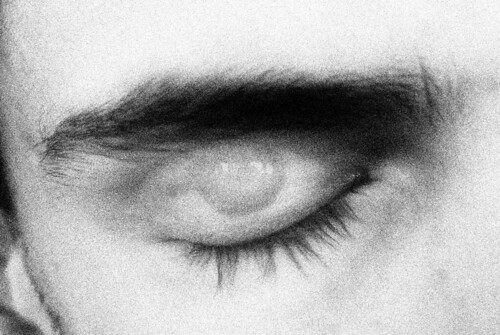
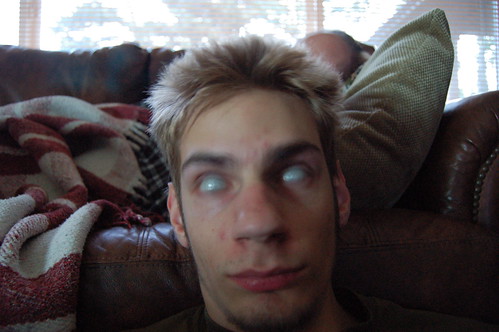
This was a one second exposure. Half of the exposure the eye was open, then after .5 seconds, the eye was shut. What you see is the eye both open and closed at the same time 😉
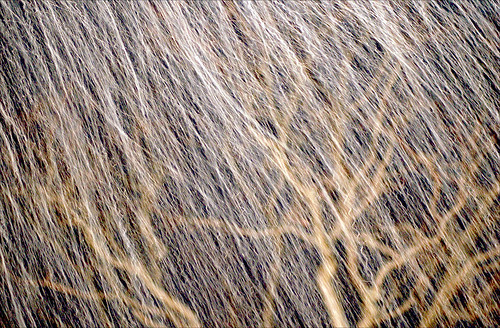
This is a long exposure at night time of snow falling! The snow was illuminated with a light, and a tree is in the background. 3 seconds.
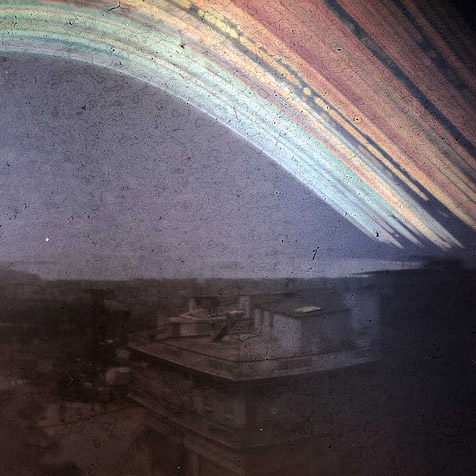
This is an example of Solarigraphy. Solarigraphy is the process of taking long exposures with pinhole cameras that last several MONTHS to record the light of the sun. This is a 6 month exposure taken by solarigrafia on Flickr. You can learn more about where this form of photography originated from here. Photo by Diego Lopez Calvin (Solarigrafia in Flickr).
There are also other things you can do with long exposure photography. Long exposures during the day allow water and clouds to blur, leafs on a tree will also blur (if there is wind). In addition, you can also take a long exposure in a very crowded city where lots of people are walking, and completely make the crowd invisible by taking a long exposure during that day.
You can also use a long exposure and then fire multiple flashes to light your subject in different ways, and/or to multiply them in number. You can also spin your camera to take perfect straight blurred out lines, or you can zoom in and out with your lens while the exposure is taking place.
Long exposures also come in handy during lightning, simply take a long exposure and wait for the lightning to show up.
The challenge: create a long exposure that has all of the above. Light painting, light spraying, star trails, and lightning; all in one photograph. (Okay, I realize it would be hard to get lightning, but try to include them all if you can 😉
 Because long exposure photography is such a large topic, there is only so much I can write in a blog post. If you want to know more information on lights, techniques and effects, check out my Trick Photography and Special Effects eBook. It has over 60 pages of content solely dedicated to light painting techniques and long exposure effects.

Pingback: How To Create Physiogram Long Exposures | Photo Extremist . com
Pingback: Art | Annotary
Pingback: 20 Ways to Experiment with Your Photography | F Stop Lounge
Pingback: 20 Ways to Experiment with Your Photography ‹ Handy Andy Pandy | A Ginger with a Camera
Pingback: 29th January 2015 – On Landscapes | Reflex Camera Club
Pingback: Alternative Uses Of Pen Camera | Gold Fusion
Pingback: Top 5 light painting tools that you can make yourself - DIY Photography