This Photoshop video tutorial will show you how to change the keys on your computer keyboard using Adobe Photoshop CS5 and above. You can rearrange the letters to say anything you want by using the Clone Stamp Tool and the Content-Aware Fill tool.
Put your keyboard on your desk and then bust out your tripod, scooting the legs right up next to the desk so you can get a good angle.
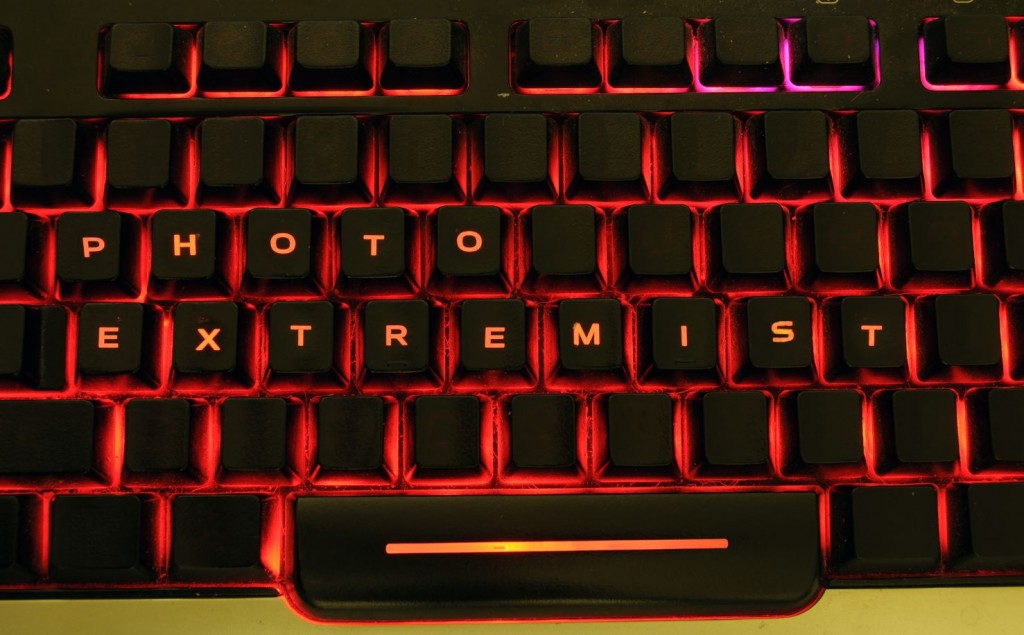
The keyboard I am using is a Saitek Eclipse II backlit glowing keyboard.
Step 1: Duplicate the layer.
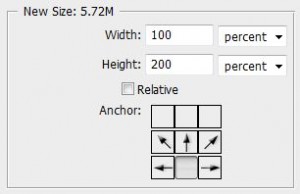
Step 2: Double the height value by clicking Image > Canvas Size. Change “pixels” to “percent”, and then enter in 200 for the Height value, like so:
Step 4: Select the top keyboard layer and drag it up so it is above in the work area.
Step 5: Grab the Clone-Stamp Tool and adjust the size of the brush so it is large enough to cover the letter. Once the brush size is all good, make sure you have the top layer selected, and then alt click on the letter you want to copy, and then simply click on the bottom keyboard to paste the latter. This is literally an easy copy/paste job.
Step 6: If you want to delete a letter, grab the rectangular marquee tool and carefully select the letter, and then hit SHIFT+BACKSPACE. Make sure Content-Aware is selected from the drop down box and then hit Enter to apply. Bamo! It should be erased (90% of the time it works good, sometimes it doesn’t. Use the Clone-Stamp Tool if it doesn’t.)
Final Result:
You, my friend, have just customized your keyboard to say anything you want.
If you liked doing this with your keyboard, check out my other tutorial on how to do it with digital alarm clocks.


1 Response to Photoshop Tutorial: Rearrange Keys on your Keyboard